Tuesday, June 26, 2012

1/144 Z'Gok Part 3

I didn't want to talk about my secret display for the Z'Gok but I figure I should go ahead and do so. In an old issue of Hobby Japan, one Gunpla fan(those idol looking girls that always come up in the magazine) did a project with a jar and a Buster Gundam kit, using the jar as a sort of "base" for a mini diorama. I thought it was a good idea, along with the other suggested creative bases(bowls, baskets, etc.) and since the inside of a jar could simulate a sort of underwater effect, I chose the Z'gok naturally as the MS to showcase.

I've pretty much put the lid on this project for now(quite literally) but haven't taken pictures of the finished product yet. Here are some I took while still putting it together, though.

I got the jar at a dollar store type place(here it's based on the japanese 100yen stores but everything is $2 instead of 100yen -___-) and filled the bottom with a sand+glue mixture. Afterwards, I wasn't too sure what would be best to add after this...I had lots of ideas but just settled on some "rocks" which I made from foam with the same sand+glue. They looked awfully bland though and I couldn't figure out what would make it better until I decided to spray them grey and put some green and blue on them. 

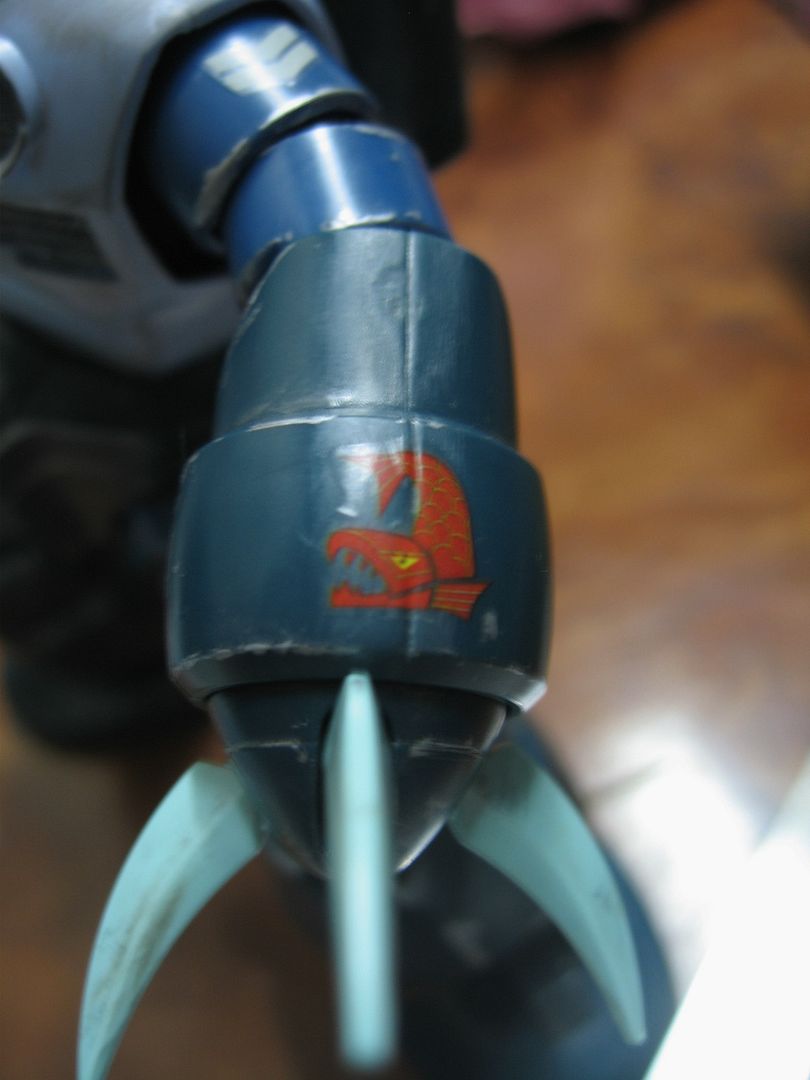
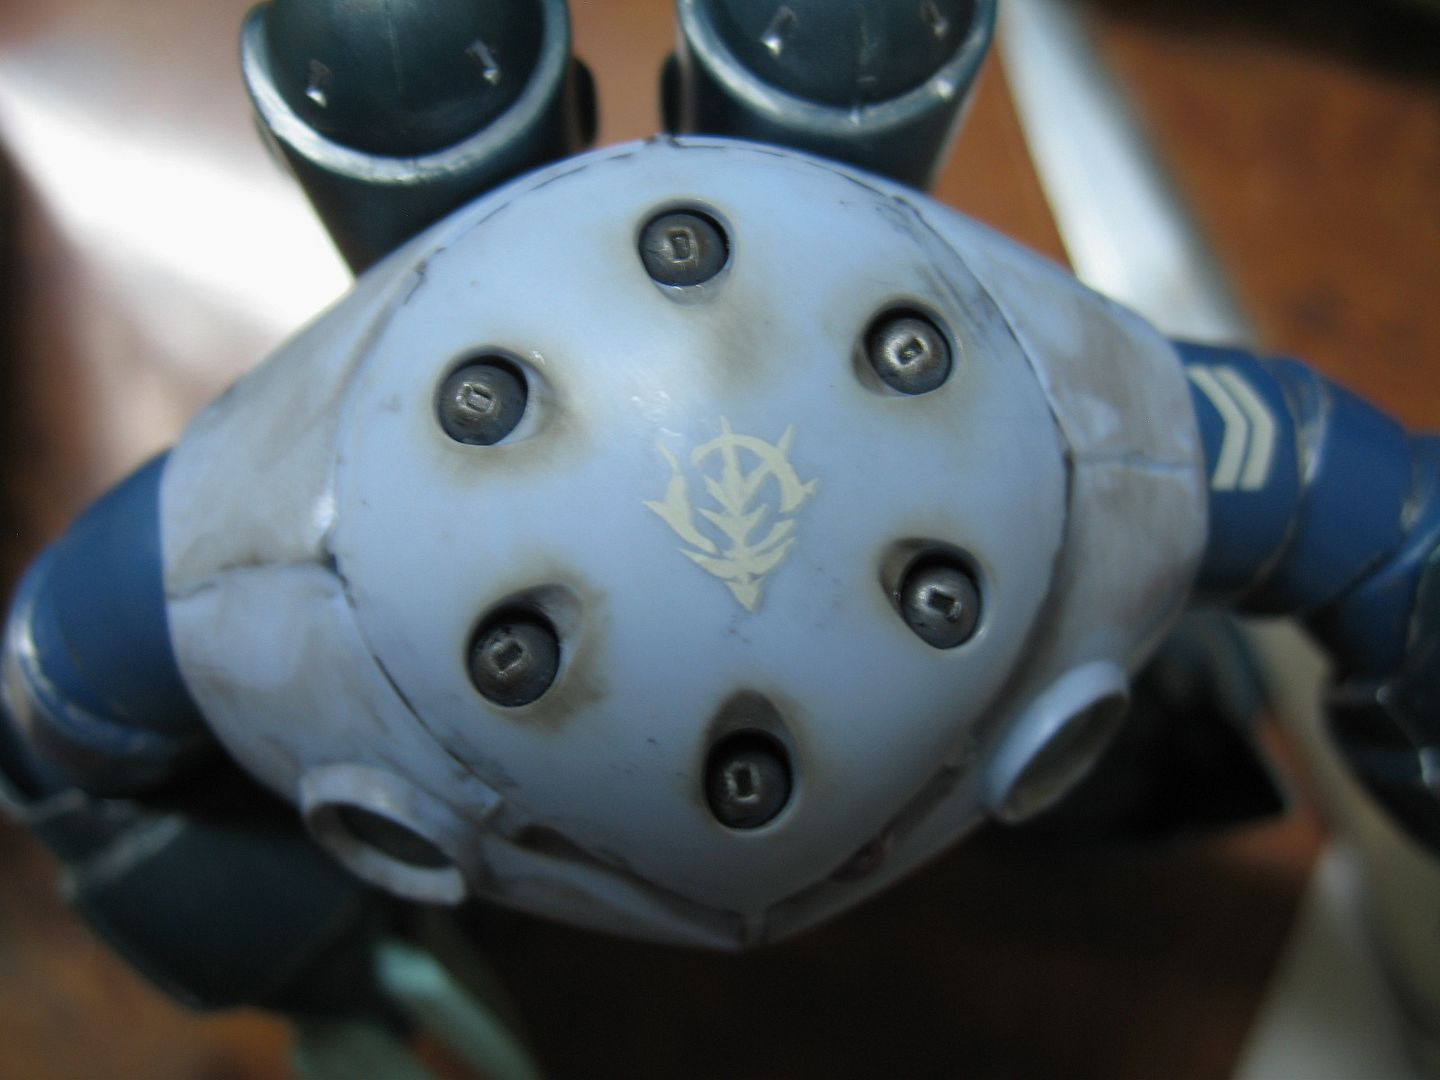
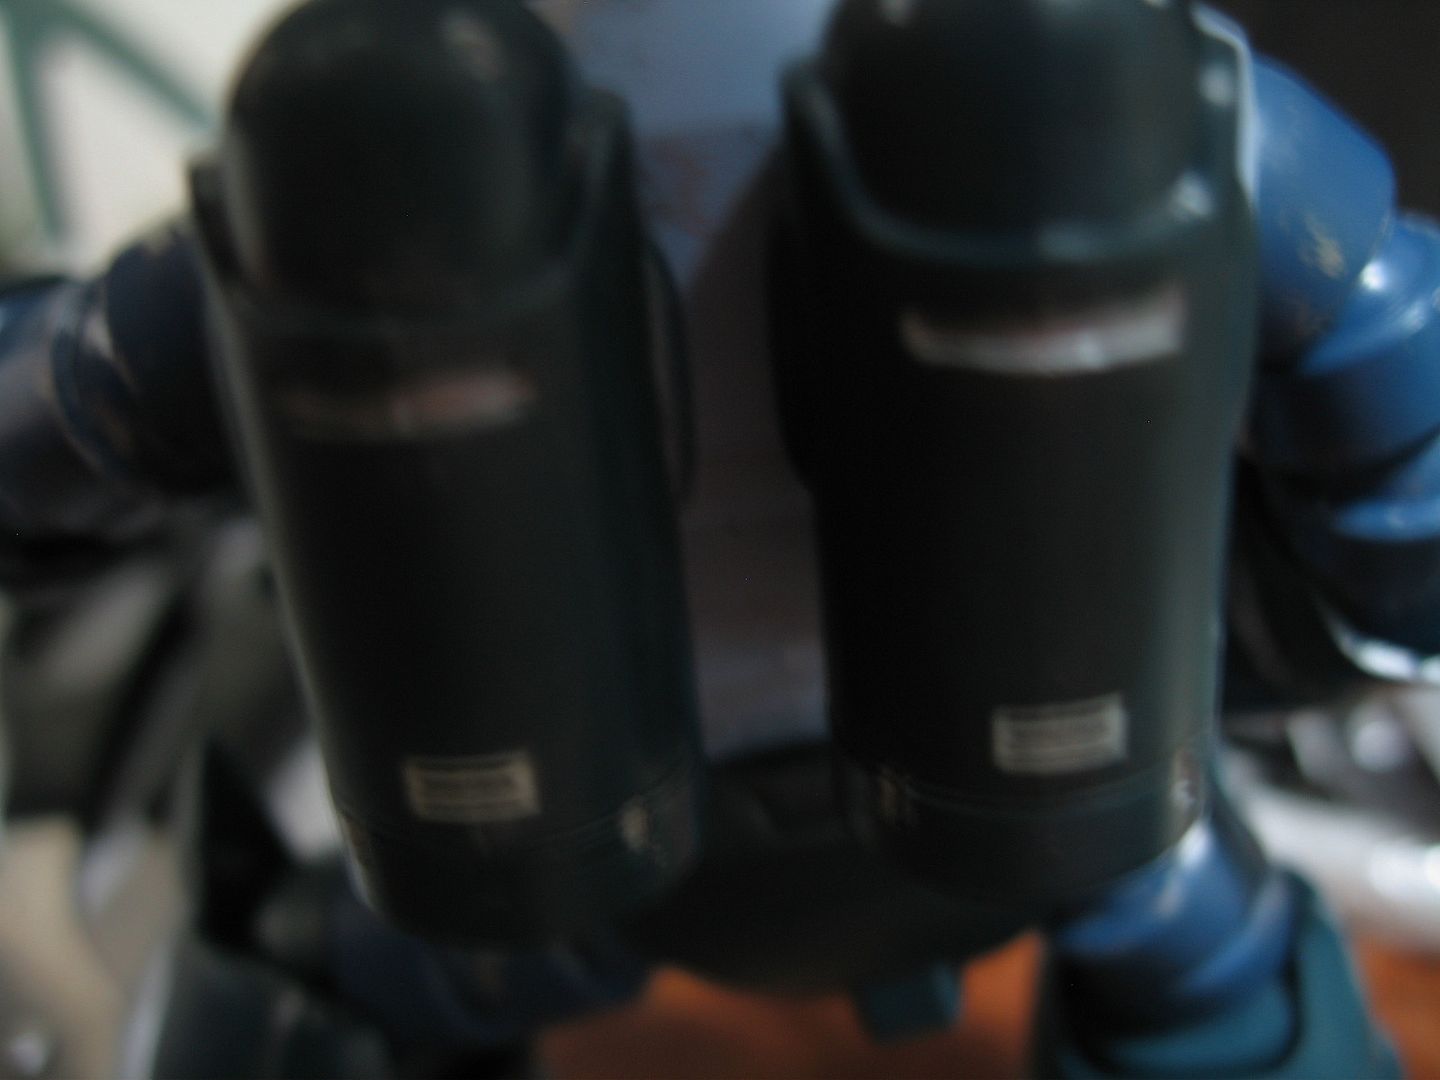
These are some bits I made to put across the diorama after spraypainting:


This is just a small "structure" I made with two parts and placed inside the jar.
For the plants, I simply took apart artificial plants I used to use in an aquarium. I placed them in crevices then covered them with sand but they didn't hold nor could I keep them in when I spray painted...lol.


 Finally, here is how the jar looks with the larger rock piece placed inside. You can see the blue and green I put on the rock and how the bottom looks.


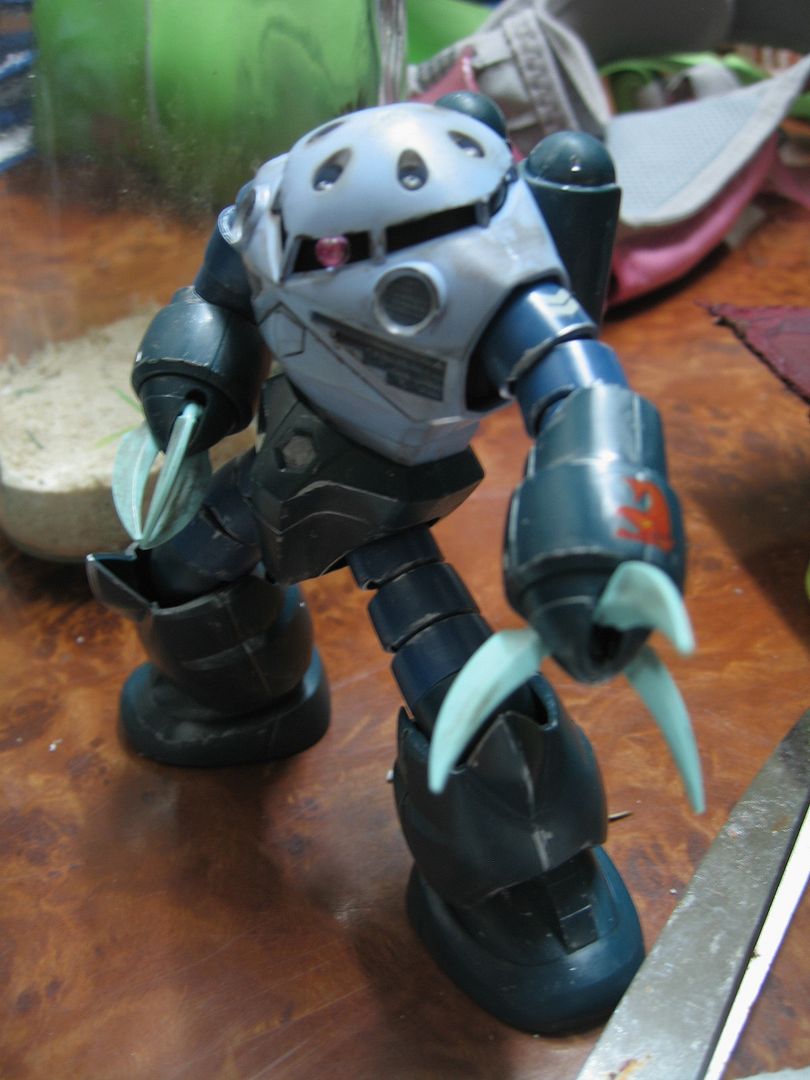
There aren't a lot of underwater dioramas to use as reference and I have to say that the biggest challenge is trying to work with everything through the jar. You don't have the freedom to form and place things as freely as when it's an open based. It still looks cool, but it was definitely a challenge to get everything in there, including posing the Z'gok by placing a stick inside the jar!

Will try to put up some pictures next time of the finished results.
~hideki~

Thursday, June 21, 2012

1/144 Z'gok Part 2

I've been doing way more work on the actual diorama than the Z'gok recently but I decided to give it a look over and remembered that I totally forgot to apply the decals I wanted to put on this thing. The decals I'm using are from the Zeon basic decal set and here is the kit with some pictures of the decals I applied:

Here it is just posing. I forgot to take a picture of the rank marking (?) on it's shoulder but it's visible here.

I didn't understand all of what the description for this emblem was on the decal sheet, but I found it most appropriate since this is an aquatic suit. I but it on the back of both claws.

There are only a hand full of weathered decals included with the sheet and I decided to use one on the top of the Z'gok. You can also see the aforementioned effect of the rust marker inside of the missile barrels that I liked.

Best pic I could get but you can tell what it is: just two caution labels on the two back thrusters.

I'm not a huge fan of decals and I usually just go by the book when I apply them so I admit I'm a little hesitant and didn't go to town on decal-ing this thing. It might make more sense that I leave off a lot of the smaller decals since this is supposed to be a slightly weathered kit, so I think it might look more natural with less decals.

til next time.

~hideki~

1/144 Z'Gok Part 1

My current project is inspired by a post I saw in an old Hobby Japan magazine(might scan for later). I don't want to get too much into the base and display though and more into the kit I am using for this.

I dug out my old HGUC 1/144 Z'gok kit I built a very long time ago. Thankfully, unlike most Gundam kits, the Z'gok did not have any extra parts or any weapons to old or anything so the entire kit was intact even though it was quite old. Obviously the pieces needed a lot of cleaning and i spent a lot of time removing dust and gunk from the surface, removing old nubs and sanding them down. In the end the kit looked like I just built it out of the box. I also experimented with seamline removal with okay results. I still need some practice with this technique. Sanded down the entire thing with 800 grit paper and then rinsed the parts in soapy water.

Here is the kit before and after the next step: weathering.

I spent a bit of time weathering the kit but it was quite fun. I used the rust gundam weathering marker for the hatches on its chest to give them that look that they had been used quite a bit. I also used this metallic rust for the barrels of missile pods on the head, turned out with really great results. For paint chipping,  I went over the edges with some silver dry brushing used a paint brush and ink from a sharpie silver paint marker. Had to clean this up a number of times before I eventually got it looking even across the kit. Added grey gundam marker to the light blue on the body for paint chipping effect and went over the kit with some grey spread and removed with a qtip.

I'm really happy with the Mono-eye though. I got rid of the faded pink mono eye sticker and got a piece of nail art jewelry and colored it with a pink permanent marker. It's a little big but still fits the eye quite well for this kit. I might put up more about this one later.

~hideki~